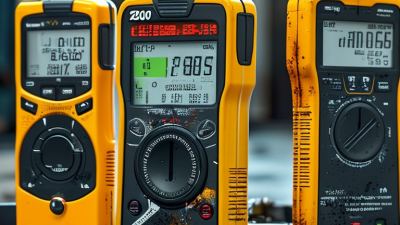
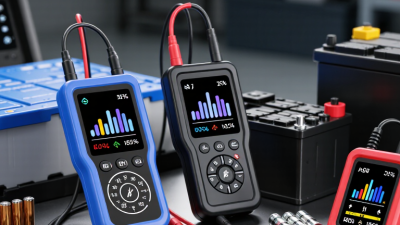
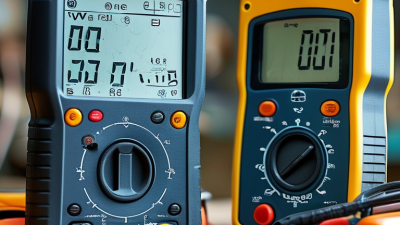
How to Use a Battery Tester Meter?
A Battery Tester Meter helps you check whether a battery has enough voltage for a device or needs closer inspection. It may be a digital multimeter or a dedicated battery tester, and the steps differ slightly between models. Before measuring, identify the battery chemistry and nominal voltage. Check the meter’s manual, inspect its leads, and select the correct DC voltage range when using a multimeter. Small details matter.
Place the red probe on the positive terminal and the black probe on the negative terminal. Keep the metal probe tips steady, and avoid letting them touch each other across the terminals. Read the display only after the connection is stable. A voltage reading offers useful evidence, but it does not always reveal a battery’s remaining capacity or performance under load. A dedicated tester may provide a more informative check, depending on its design. Readings can mislead.
This guide explains how to prepare the meter, connect it safely, interpret common results, and avoid frequent measurement errors. It also covers why battery type, temperature, and recent use can affect a reading. If a battery is swollen, leaking, unusually hot, or damaged, do not test it; follow the manufacturer’s handling guidance instead. Even careful measurements have limits. A low reading may point to a weak battery, but repeating the test under appropriate conditions can help prevent a rushed conclusion.
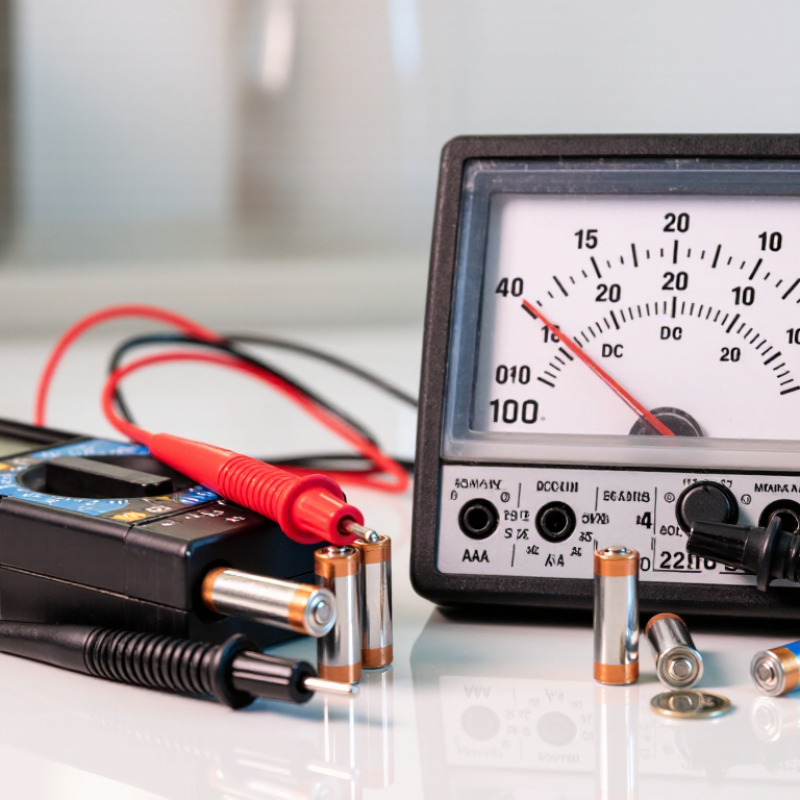
Check Battery Chemistry, Rated CCA, and Tester Compatibility Before Testing
Before connecting a battery tester meter, identify the battery chemistry and read its label. Flooded lead-acid, AGM, EFB, and lithium batteries may need different test modes. A tester designed only for lead-acid batteries may give unreliable results on lithium models. Match the tester’s selected chemistry and rating standard to the battery. CCA values listed under SAE, EN, or DIN standards are not automatically interchangeable. SAE J537 defines a cold-cranking test at -18°C for 30 seconds; a 12-volt battery must maintain at least 7.2 volts during that test.
Check the tester’s manual for supported chemistries and CCA ranges before testing. Enter the rated CCA exactly as printed on the battery, using the matching standard. Clean the terminals and attach the clamps securely; loose contact can produce unstable readings. Turn off vehicle loads and follow the tester’s instructions about recently charged batteries. A green result can feel reassuring, but it does not explain every starting problem. Battery age, charge level, and cable condition matter too. I still find the rating-standard step easy to overlook.
Tips: Photograph the battery label before entering settings. If the chemistry or rating is unclear, pause and check the battery or tester documentation rather than guessing.
Typical CCA Ranges by Battery Application
Approximate ranges for 12V lead-acid batteries. Actual ratings vary by battery model.
These ranges are reference guides, not test settings. Before testing, confirm the battery chemistry is supported, select the matching test mode and CCA rating standard, and enter the exact CCA value printed on the battery label.
Set the Meter to DC Volts and Connect Red to Positive, Black to Negative
How to Use a Battery Tester Meter?
Park the vehicle, switch off the engine, and turn off lights and accessories. Set the meter to DC volts, usually marked V with a solid and dashed line. For a manual-range meter, choose a range above the battery’s expected voltage; an auto-ranging meter selects one for you. Place the meter on a dry, stable surface. Keep the probes apart until you are ready.
Insert the black lead into COM and the red lead into the voltage socket, often marked V. Touch the red probe to the battery’s positive terminal, usually marked with a plus sign. Touch the black probe to the negative terminal, marked minus. Hold each probe on clean metal and avoid letting the probes touch each other. Read the display while keeping your hands steady. A loose connection can make the reading jump, so check the contact before interpreting it. A resting 12-volt battery often reads near 12.6 volts when fully charged, but temperature and battery condition affect results.
Tips: Never use the current or resistance setting across battery terminals. Remove metal jewelry, and stop if the case is cracked, leaking, or unusually hot. If the reading seems surprising, recheck the meter setting and probe contact; meters can be easy to misread.
Read Resting Voltage: A Fully Charged 12-V Lead-Acid Battery Is About 12.6 V
To read a battery’s resting voltage, set the meter to DC volts, choosing a range that covers 12 volts if it is not auto-ranging. Turn off the vehicle and accessories, then let the battery sit for several hours; a recent drive or charge can leave a temporary surface charge. Touch the red probe to the positive post and the black probe to the negative post. Keep the probe tips steady. A loose connection can make the reading jump.
A fully charged 12-V lead-acid battery is about 12.6 V at rest, though temperature and battery condition can shift the result slightly. Around 12.4 V often suggests a partial charge, while a reading near 12.0 V indicates substantial discharge. These are useful estimates, not a complete diagnosis. Check the battery’s specifications, and compare readings under similar conditions. If you have just charged it, wait before measuring again; the first number may look better than the battery’s actual resting state. I still find this easy to overlook. If the voltage stays low after charging, or drops quickly during use, the battery may need a load test or professional inspection. Don’t let the probes touch each other across the terminals.
Apply a Half-CCA Load for 15 Seconds; SAE J537 Sets 9.6 V at 70°F as the Minimum
A battery tester meter can reveal whether a battery holds voltage under a controlled load. Check that the battery is fully charged, then let its surface charge settle according to the tester instructions. Connect the red clamp to the positive terminal and the black clamp to the negative terminal. Confirm the clamps are secure. Loose contact can distort the reading.
Set the load to half the battery’s rated cold-cranking amps (CCA), then apply it for 15 seconds. At 70°F (about 21°C), SAE J537 uses 9.6 volts as the minimum acceptable voltage during this test. Watch the display throughout the full interval, not just at the start. A reading below the limit may indicate a weak battery, but it is not a diagnosis by itself. Temperature matters; use the tester’s correction guidance when conditions differ from 70°F. Stop if the battery becomes hot, leaks, or appears swollen. It is easy to rush this part. I’d also note the battery’s age and resting voltage, since one test result can be misleading.
Compare Results With the CCA Rating and Recharge Before Retesting a Low Battery
A battery tester’s CCA reading is useful only when compared with the rating printed on the battery. SAE J537 defines cold-cranking performance at −18°C (0°F): a 12-volt battery must supply its rated current for 30 seconds while maintaining at least 7.2 volts. A handheld tester does not recreate that full laboratory test. Numbers need context. Compare the result with the battery’s own CCA label, and note the test temperature and battery type.
If the reading is low, check the clamps for clean, firm contact, then recharge the battery before testing again. A discharged battery can produce a weak result even when its condition is not the main problem. Let it rest after charging, following the charger and tester instructions; an immediate retest may be affected by surface charge. That matters. I have seen a loose clamp make a healthy battery look suspect. It is an easy detail to miss.
Retest under similar conditions and record both readings, along with the battery’s age and temperature. A result far below the labeled CCA deserves further inspection, but one number alone is not a diagnosis. If the reading stays low after a full recharge, or the tester reports a fault, have the battery and charging system checked with suitable equipment. Not quite certain? Repeat the setup before replacing anything.

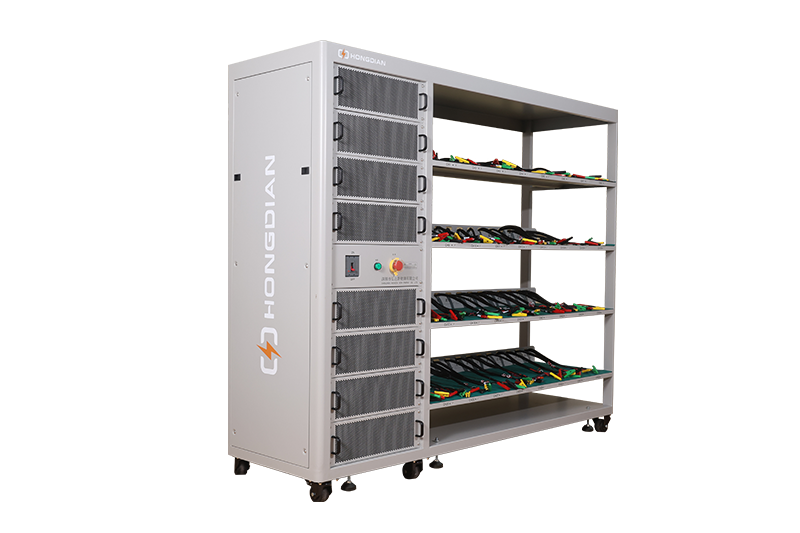 32/48 channel battery charging and discharging test integrated battery cabinet
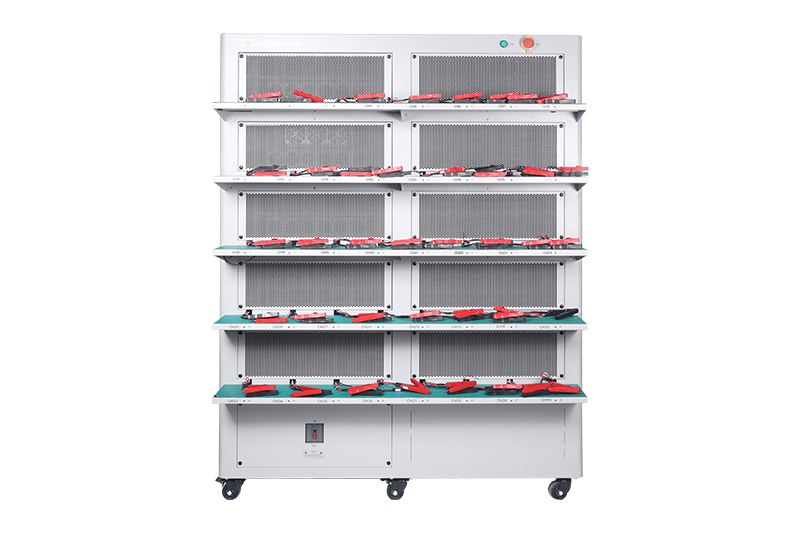 40 channel battery charging and discharging test integrated battery cabinet
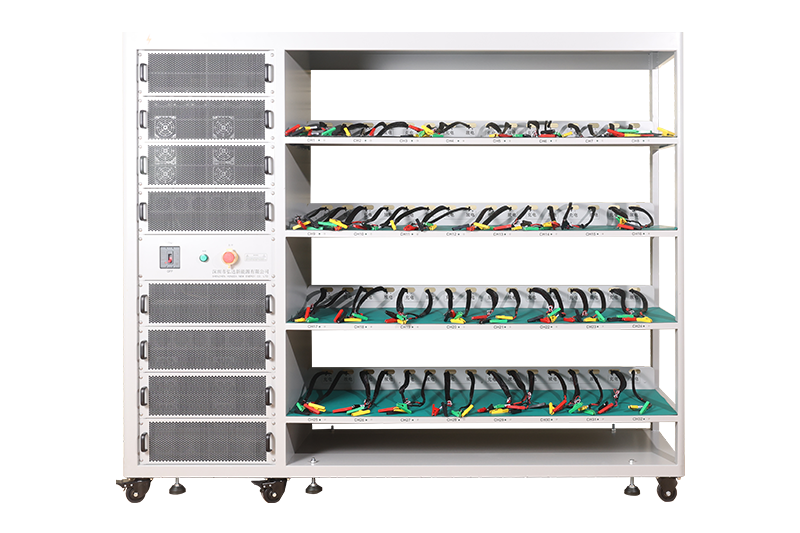 64 channel battery charging and discharging test integrated battery cabinet
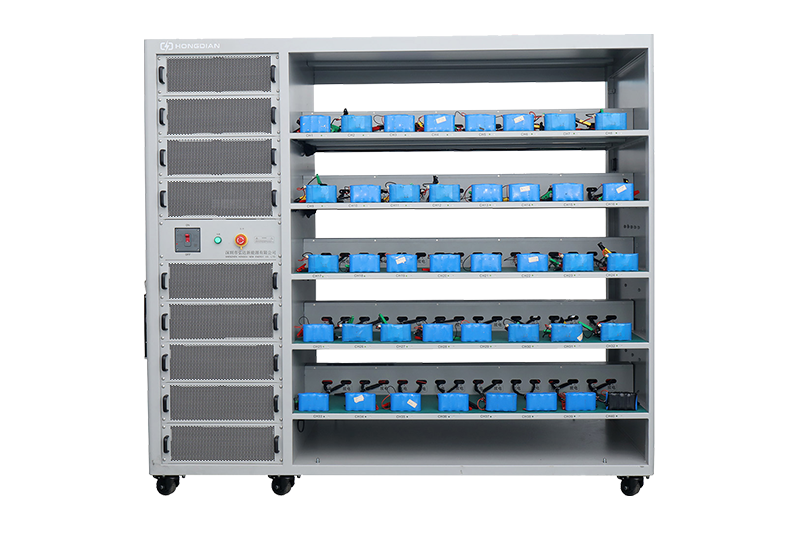 80 channel battery charging and discharging test integrated battery cabinet
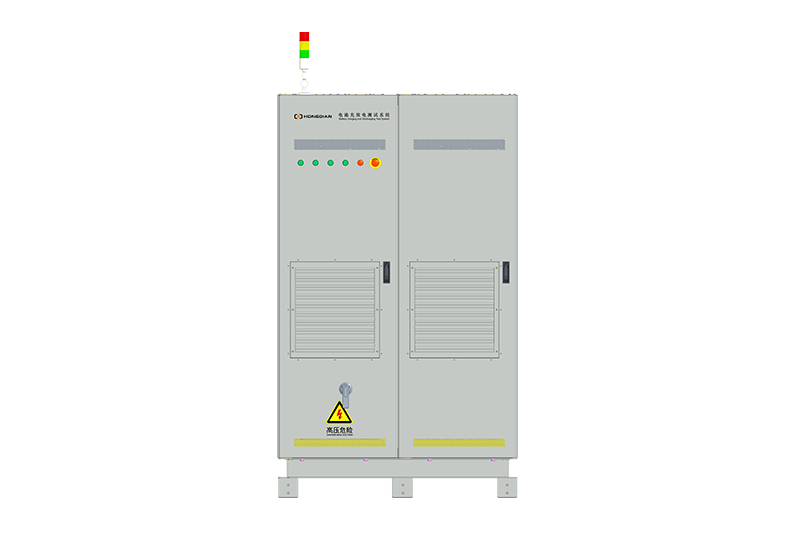 1000V-1500V High Voltage High Current Battery Testing System
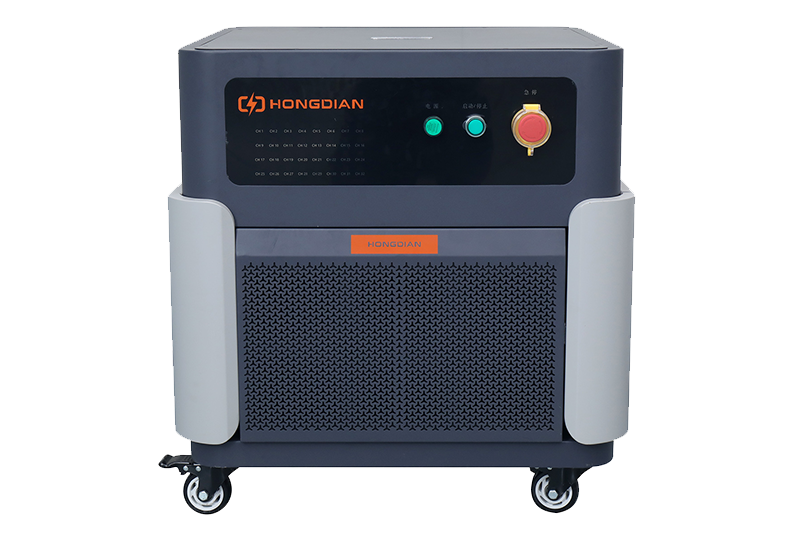 High-Precision Battery Testing System for Enhanced Performance Monitoring 30V/60V/100V/120V
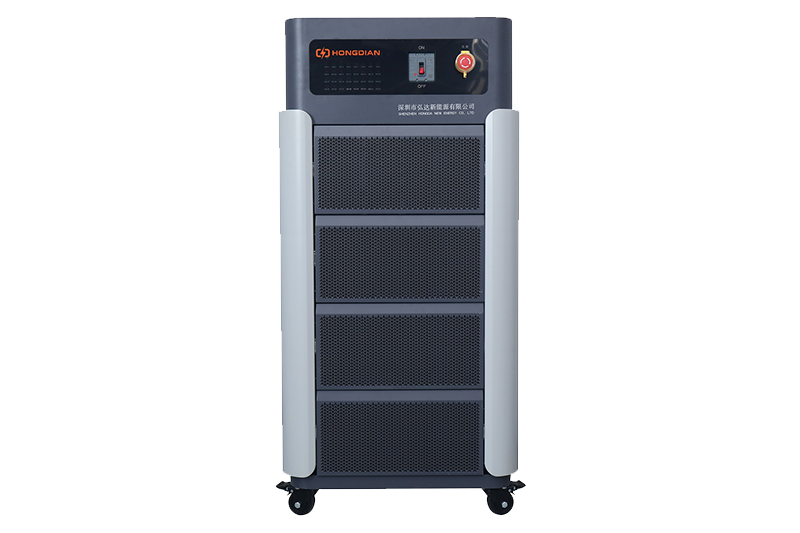 High-Precision Battery Charge Discharge Test Systems for EV Manufacturers
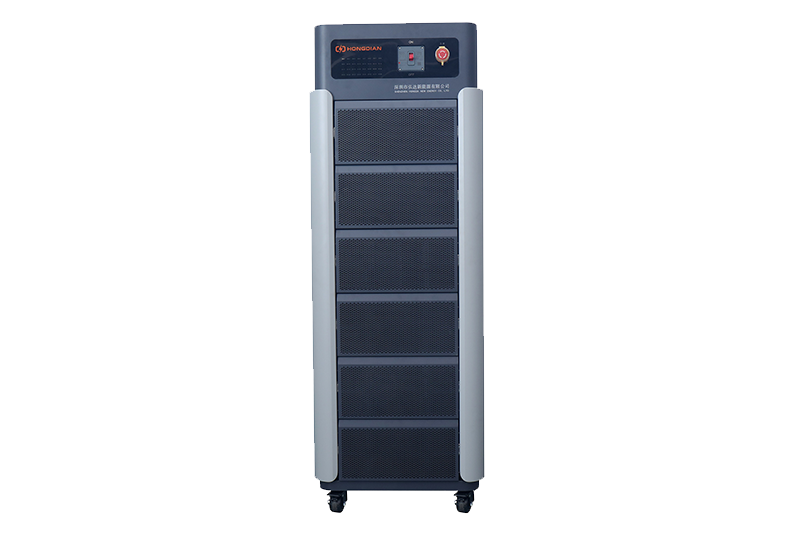 Precision Battery Test Racks for Cell Capacity & Internal Resistance Measurement
 Multi-Channel Battery Testing Equipment for Parallel Performance Analysis